How to Make a Professional Twitch Stream from Your Phone
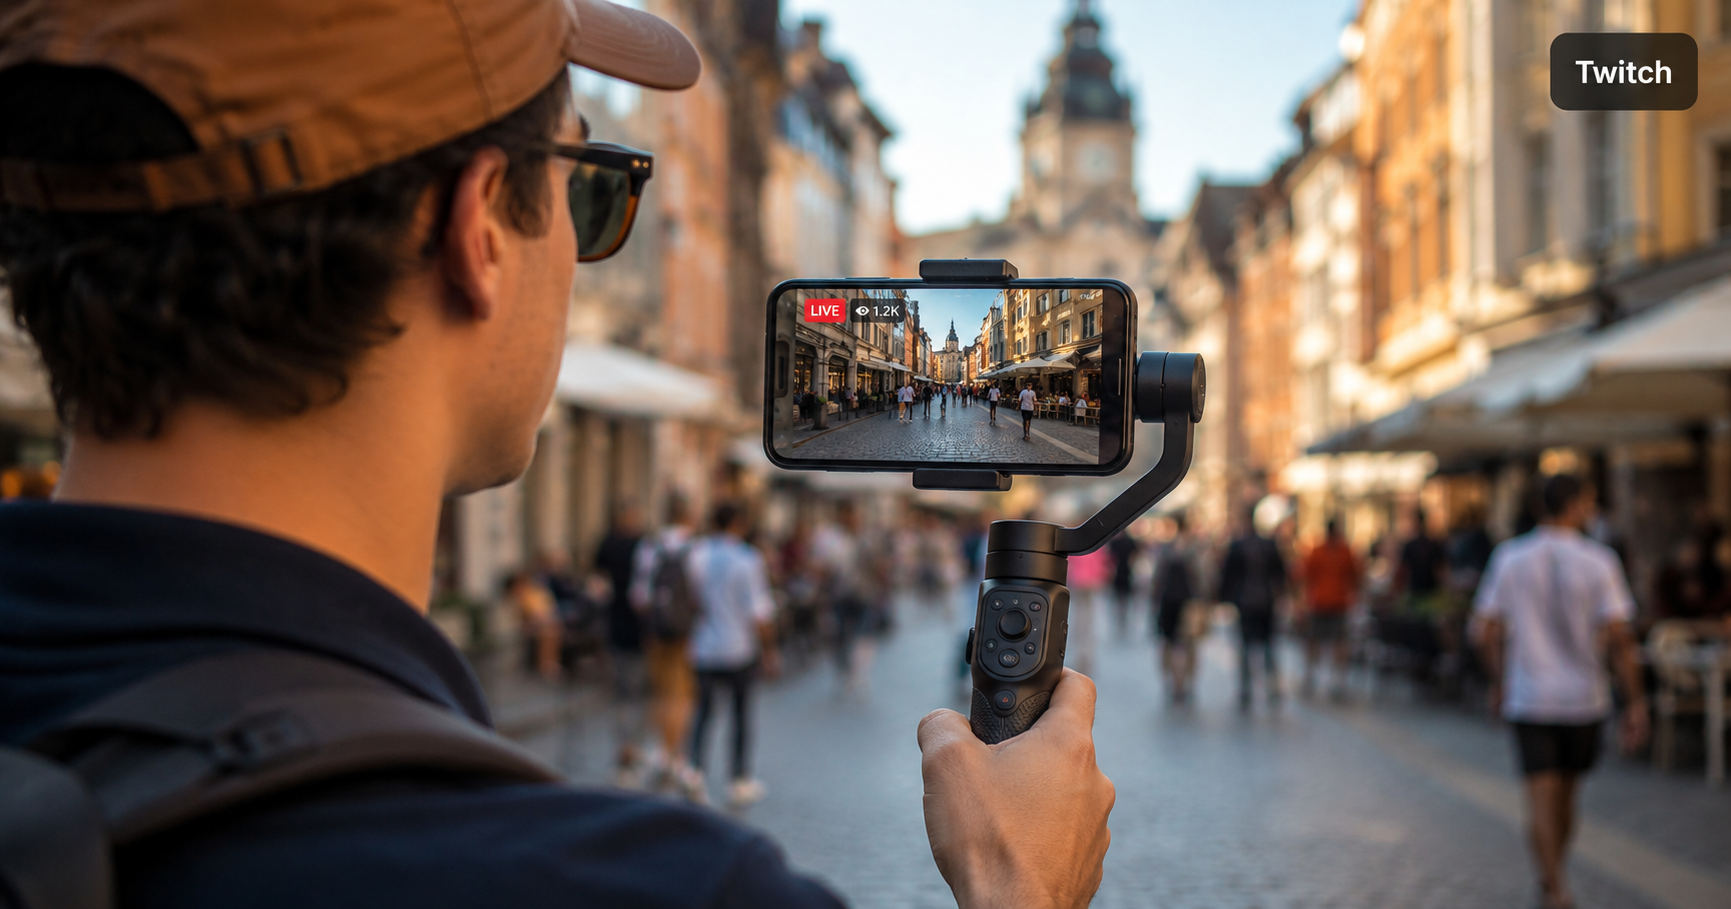
You do not need expensive equipment to look professional on Twitch. Here is how to stream live from your phone with stable connection and great quality.
Can you really stream professionally on Twitch from a phone?
Yes — and plenty of full-time Twitch streamers do it. The key is not the hardware, it is how you set it up. A phone with the right apps and a relay server can deliver a stream that looks just as good as a studio setup.
Here is exactly how to do it.
What you need
- iPhone or Android smartphone
- A computer at home running OBS
- A streaming app: Moblin for iPhone or IRL Pro for Android
- A relay server — IRLHost
- A power bank (streaming drains your battery fast)
- No PC at home? IRLHost Pro runs OBS in the cloud — your phone is your only piece of hardware.
Why you need a relay server
Streaming straight from your phone to Twitch means one mobile connection carrying everything — if that signal dips, your stream freezes or drops. A relay server fixes that. It sits between your phone and your platform and does something a direct connection cannot: it lets you bond your WiFi and mobile data into one connection, so you are not relying on a single signal — SRT's buffer also smooths brief packet loss in transit.
If you run OBS at home, a relay adds a second benefit: it gives OBS a public address to connect out to, so there is no port forwarding and your home IP stays private. Your phone sends to IRLHost, and OBS pulls a clean feed from the relay and streams it to Twitch. No PC? IRLHost Pro runs OBS for you in the cloud instead.
Step 1: Set up your relay
Sign up for IRLHost and create a relay server. Takes about two minutes. Once it is running you will see tabs in your dashboard for OBS, Moblin, IRL Pro, and Other.
Step 2: Connect OBS and your phone
The full setup depends on which phone you have. Both guides cover OBS configuration and phone setup in detail:
- iPhone: How to set up Moblin with IRLHost
- Android: How to set up IRL Pro with IRLHost
Step 3: Make it look professional
The stream is running. Now the details matter:
- Audio: A clip-on microphone makes a bigger difference than any camera upgrade. A simple wired or Bluetooth lapel mic is enough to sound noticeably better.
- Stability: Use a phone mount or gimbal so your footage is not shaky.
- Lighting: Natural light facing you is free and looks great. Avoid standing in front of a window.
- Overlays: Use StreamElements to create your alerts and overlays. Create your layout in their editor, then paste the widget URL into a Browser Source in OBS. Free, reliable, and does not touch your stream.
- Connection: SRTLA bonding is enabled by default on IRLHost. To benefit from it, keep both mobile data and WiFi active on your phone at the same time and IRLHost bonds them automatically. A small travel router with external antennas — a GL.iNet for example — gives you a much stronger WiFi signal than your phone's built-in antenna and is worth bringing on longer streams.
- Drop handling: Run IRLHost Link on your home PC. When your signal drops out completely, it switches OBS to a BRB scene so your stream stays live and clean, then switches back when your connection returns.
Step 4: Test before you go live
Always do a short test stream before going live. Check that your stream appears on Twitch, audio sounds clear, and the connection is stable in your IRLHost dashboard.
Get started
Sign up at irlhost.gg. IRLHost Plus includes the relay server from €11.99/month + VAT. If you want to skip the home PC entirely, IRLHost Pro adds a cloud OBS instance so your whole setup runs from your phone or tablet, from €29.99/month + VAT.
Want help with your IRL setup?
Leave your email and a seller can contact you with setup help, a walkthrough, or a specialized IRLHost offer.